










how-to
How to Set Ball Position for Every Club
Ball position isn't a single spot you set once and reuse for every club in the

Your carry numbers don't lie. If you've done a bag mapping session and you're staring at a 30-yard hole between your pitching wedge and your sand wedge, that's not a swing problem. That's a wedge system problem.
Most mid-handicap golfers know something's wrong in the scoring zone. They've hit a perfect swing from 90 yards and come up 10 yards short with the sand wedge, or tried to smooth a pitching wedge and gone 15 yards long. The problem isn't always contact. Sometimes there's just no club in the bag for that distance.
This guide goes from carry data to a specific, validated wedge setup with the right lofts. By the end, you'll know which configuration fits your game and how to confirm it on a launch monitor before spending a dollar. If you haven't run a bag mapping session yet, the how to map your golf bag with a launch monitor article covers the full protocol first.
TL;DR
Long irons and fairway woods produce carry numbers with predictable patterns: more swing speed, more distance, predictable gaps. A 20-yard (18m) hole in the 180-to-200-yard (165-to-183-m) range is manageable. You can take more club, finesse a swing, or lay up.
The scoring zone doesn't give you those options. Dave Pelz, who spent years researching amateur scoring patterns and published his findings in "Dave Pelz's Short Game Bible" (Broadway Books, 1999), identified shots inside 100 yards (91m) as the most decisive zone for mid-handicap improvement. Pelz's research showed that most of the strokes separating mid-handicap golfers from single figures are lost not from the tee, but from yardages where the right wedge simply wasn't available.
In that range, the margin for error compresses. A 15-yard (14m) gap between wedges means you're either gearing down a club and choking up, or smoothing a full swing to take something off it, and neither approach holds up under pressure. Unlike a gap in the long irons, a wedge gap can't be papered over with a swing adjustment. The club has to be there.
If you've run a bag mapping session, you've got carry averages for your pitching wedge, your sand wedge, and any other wedges you carry. Lay them out from highest to lowest carry.
Now ask: what distances between your pitching wedge and sand wedge carry have no club assigned?
That's your wedge gap. A carry separation of 10 to 15 yards (9 to 14m) between consecutive wedges is the target for a functional mid-handicap setup, the same benchmark cited in GolfWRX's Golf 101 guide "How far should my clubs go? (AKA gapping)" (GolfWRX, November 2020). When that separation widens to 20 yards (18m) or more, you're manufacturing shots rather than executing them.
A few things your data might show that aren't immediately obvious:
Your pitching wedge is probably going further than you think. Modern game-improvement iron sets often ship with pitching wedges at 43 or 44 degrees, noticeably stronger than a traditional 46 to 48 degrees. That pushes your PW carry up and opens a wider gap below it. If your PW is averaging 135 yards (123m) and your sand wedge is averaging 98 yards (90m), you've got a 37-yard (34-m) hole to fill.
Your sand wedge's true carry might be lower than your feel estimate. Golfers typically gauge their sand wedge distance from practice chip areas with partial swings. A controlled full swing on a launch monitor usually reads shorter. That's the number that matters.
Spin rate shapes your distance picture. In the wedge range, higher spin means the ball stops closer to where it lands. Your launch monitor carry average and your actual stopping distance converge as spin rate goes up. A carry map built from launch monitor data is a reliable stopping-distance map for full wedge shots, and that's what makes it actionable.
Typical loft progression: pitching wedge (46°), gap wedge (52°), sand wedge (58°). Some players run tighter progressions like 46°, 50°, 56°, depending on their PW loft and swing speed.
Works for: golfers whose pitching wedge carry sits in the 110-to-125-yard (101-to-114-m) range and whose sand wedge covers the 85-to-95-yard (78-to-87-m) range. The three clubs fill the scoring zone from roughly 85 to 125 yards (78 to 114m) with consistent separation.
Limitation: leaves nothing below 85 yards (78m) that isn't a sand wedge. If you regularly play shots from 65 to 75 yards (59 to 69m), including short par-4s, forced layups, and tight pins, a three-wedge system asks you to manufacture from those yardages rather than execute.
Typical loft progression: pitching wedge (45°), gap wedge (50°), sand wedge (55°), lob wedge (60°). Tighter versions run 46°, 51°, 56°, 61°.
Works for: golfers who regularly play shots from inside 75 yards (69m), whose pitching wedge carry exceeds 130 yards (119m) and creates a wider zone to fill, or who play firm greens where stopping the ball precisely from short range matters.
Limitation: consumes a bag slot that could otherwise carry an additional long club. If your bag map already shows a coverage hole in the 190-to-215-yard (174-to-197-m) range, a fourth wedge may be the wrong priority. That slot might be better spent on a hybrid.
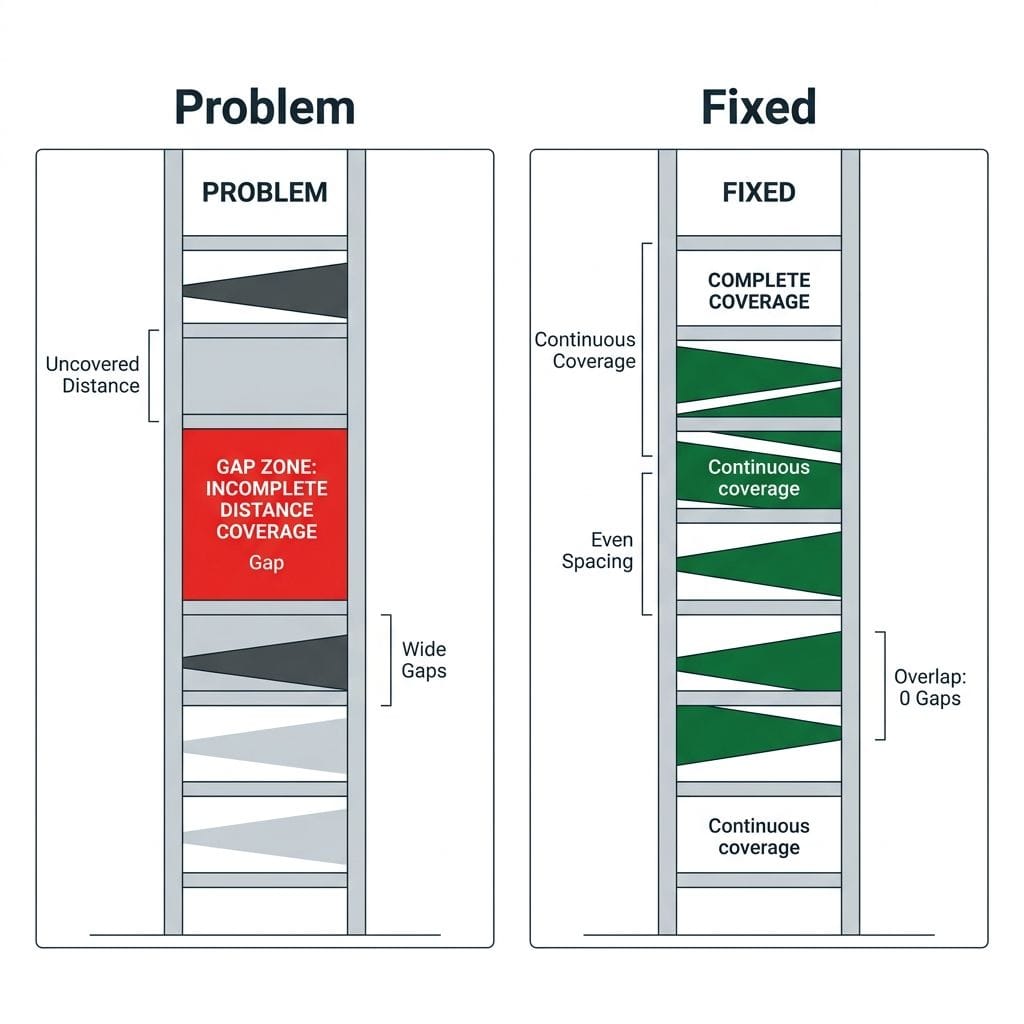
Work through this in order.
Step 1: Find your pitching wedge loft
It's stamped on the hosel of your pitching wedge, or listed in the specifications on your iron set's product page on the manufacturer's website. This is your anchor. Every subsequent wedge loft decision flows outward from it.
Step 2: Record your current carry averages
From your bag mapping session: pitching wedge carry, sand wedge carry, and any other wedge carry averages. If you haven't run the session yet, do that first; the bag mapping guide covers the full protocol. You need real carry data before you can make loft decisions.
Step 3: Map the gaps
List your carry averages from highest to lowest. Subtract each number from the one above it. That difference is the gap your adjacent wedges are producing.
Any gap wider than 20 yards (18m): you've got a hole to fill. Any gap narrower than 8 yards (7.3m): you've got an overlap worth addressing.
Step 4: Calculate the loft you need
PGA Tour Superstore's wedge fitting guide (pgatoursuperstore.com, accessed May 2026) states the standard fitting rule: aim for 4 to 6 degrees of loft separation between consecutive wedges. Less than 4 degrees and carry gaps compress too much; more than 6 or 7 degrees and the gaps widen beyond what most mid-handicap swings can fill consistently.
Combined with the 10-to-15-yard (9-to-14-m) target gap per club, the loft math works like this:
Then check: does the resulting loft sequence produce the carry gaps you need, and does it fill the specific hole your launch monitor data showed?
Step 5: Shortlist specific wedges by loft
You're not choosing by brand. You're choosing by loft availability, grind compatibility with your typical turf conditions, and whether you can get a trial hit on a launch monitor before committing. Three models that cover most mid-handicap configurations:
Don't finalize a wedge purchase without a launch monitor validation session. The protocol is short.
1. Eight full-swing shots per candidate wedge
You're testing full carry distance only. Eight shots, average the middle six. That's your expected carry for that loft configuration.
2. Check the carry against your gap
Does the candidate wedge's average carry sit in the middle of the gap you're trying to fill, not at the edge of it? A wedge that averages 108 yards (99m) when your gap runs from 100 to 120 yards (91 to 110m) plugs the bottom of the hole while leaving the top open. You want coverage through the gap, not just at one end.
3. Check spin rate
In the wedge range, spin rate indicates how reliably the ball will stop near its carry distance. The launch monitor readout will show you whether your new wedge produces consistent spin on full swings. Wide variation in spin between shots at the same loft is a flag: it means off-center contact is affecting spin more than loft is, and your carry map becomes less reliable in play.
4. Test the adjacent lofts
If you're targeting a 52° gap wedge, also hit a 50° and a 54° in the same model. The carry gaps shift between lofts, and the adjacent option may fill your specific hole more precisely than the calculated loft.
5. Buy after the validation, not before
Most golfers pick a loft from a chart, buy the wedge, and then test it. Reversing that sequence (validate first, buy after) removes a return-and-reorder cycle. Most fitting studios and big-box retail locations with launch monitors will let you hit demo wedges before purchase.
The right number is whatever fills your scoring-zone coverage without leaving a gap wider than 15 yards (14m) anywhere between 60 and 125 yards (55 to 114m). For most mid-handicap golfers, that's three or four wedges. The answer comes from your carry data, not a preference. Run the numbers first and let the gaps tell you.
Loft is the starting point, not the full answer. Two wedges at the same loft from different manufacturers can produce different carry numbers because of shaft weight, center of gravity, and face design. The carry is what matters, and carry only comes from a launch monitor session with the actual candidate wedge. Calculate the loft you need, shortlist the models available in that loft, then validate carry before buying.
It might be. Modern game-improvement iron sets often have pitching wedges at 43 or 44 degrees, significantly stronger than a traditional 46 to 48 degrees. If your PW carries significantly further than expected and leaves a wider-than-normal gap, your wedge system needs to cover more distance range. The same decision tree applies; you're just working with more yardage to fill. Some golfers in this situation find that a four-wedge setup is the only way to get consistent 10-to-15-yard (9-to-14-m) gaps across the full scoring zone.
Once you've confirmed your wedge setup carries the right distances, build a one-page summary: target distance zones in the left column, assigned club in the right column, with the launch monitor carry average confirmed for each wedge.
A pre-formatted gapping worksheet PDF, with columns for carry, spin rate, and landing angle per wedge so you can update it as your game changes, is available via the site newsletter at newsletter signup link.
Some links in this article are affiliate links. If you buy through them, I earn a small commission at no extra cost to you. This never influences what I cover or recommend. I link to gear I'd buy myself.
Data-backed reviews and advice that works. No brand spin.