TL;DR
- 1Map every club in your bag with 10-shot carry averages before you do anything else. No baseline, no progress.
- 2Ignore 17 of the 20 metrics. Ball speed, launch angle, and spin rate carry most of the diagnostic weight.
- 3Smash factor in the 1.43 to 1.47 range with driver tells you more about contact than any video.
- 4Use a session to test loft and face angle changes before paying for a full fitting. A 1-degree loft swing can shift carry by 5 to 8 yards (4.6 to 7.3m).
- 5Most amateurs have a dead zone between 80 and 120 yards (73 to 110m). Wedge gapping fixes it faster than swing changes.
- 6Track every session in a spreadsheet. The unit only earns its keep if you log the numbers.
Most range sessions are wasted money
Walk into any indoor bay paying $80 to $120 an hour and watch what happens. The golfer puts a ball down, hits it, watches the screen flash some numbers, and reaches for the next one. Forty-five minutes later they've burned through 90 shots and learned almost nothing. Their device was tracking ball speed, smash factor, axis tilt, and a dozen other figures the whole time. None of it got written down. None of it changed how they practice tomorrow.
Owning a portable device at home is the same trap with no time pressure to break the habit. You can hit balls into a net for an hour, gather a fresh stack of distance numbers, and end up no closer to cutting strokes from your handicap than when you walked in. The technology is honest. Practice habits often aren't.
Here's the framework I'd hand a 14-handicap mate who just bought their first machine and asked where to begin. Six steps. Each builds on the previous. By the end you'll know what to watch, what to ignore, and what belongs in the spreadsheet.
Step 1: Map your bag
Before you change anything about your swing or your gear, you need a baseline. Hit 10 shots with every club from pitching wedge through driver and record where each one lands. Throw out the obvious mishits, average the remaining seven or eight, and write it down.
This sounds tedious. It is. It's also the single most useful thing a launch monitor will ever tell you.
The reason it matters: most golfers walk around believing the wrong distances. They remember the time they flushed a 7-iron 175 yards (160m) on a downhill par 3 with a tailwind, and that becomes their stock figure. Then they short-side themselves into bunkers for the rest of their lives. According to Golf.com's yardage benchmarks (Oct 2025), the average 14-handicap male flies a 7-iron 145 yards (133m), not 165. The honest figure is almost never the flattering one.
Once you have the table, club it on the course based on carry, not total distance. Roll-out is inconsistent on anything firmer than a sodden parkland fairway. Carry is the number that respects the front bunker.
Step 2: Focus on three metrics first
A modern device serves up 16 to 20 metrics per shot. You don't need 17 of them. For the first three months, watch three: ball speed, launch angle, and spin rate. Everything else is supporting evidence.
Ball speed is the single best proxy for distance potential. Trackman's Sep 2024 driver data puts the 14.5-handicap male at 133mph ball speed and 208 yards (190m) off the tee. If you're below 125mph, no club fitting on earth makes up the gap. Speed is the lever.
Launch angle is how high the ball leaves the face. The same Trackman dataset puts the 14.5-handicap average at 12.6 degrees with driver. Below 10 degrees, you're losing carry to a low rope. Above 16, you're ballooning. This is where loft and angle of attack adjustments earn their keep.
Spin rate is the one most amateurs misread. The Trackman spin study (Sep 2024) pegs the 14.5-handicap driver spin at 3,275rpm. That's high. Tour average sits around 2,500. Every 500rpm of excess spin costs about 8 yards (7.3m) of carry. If you're spinning the driver at 3,500rpm-plus, you don't have a swing problem, you have a strike or shaft problem.
Three numbers. Most diagnostic value sits inside them. The rest you can ignore until you've made progress on these.
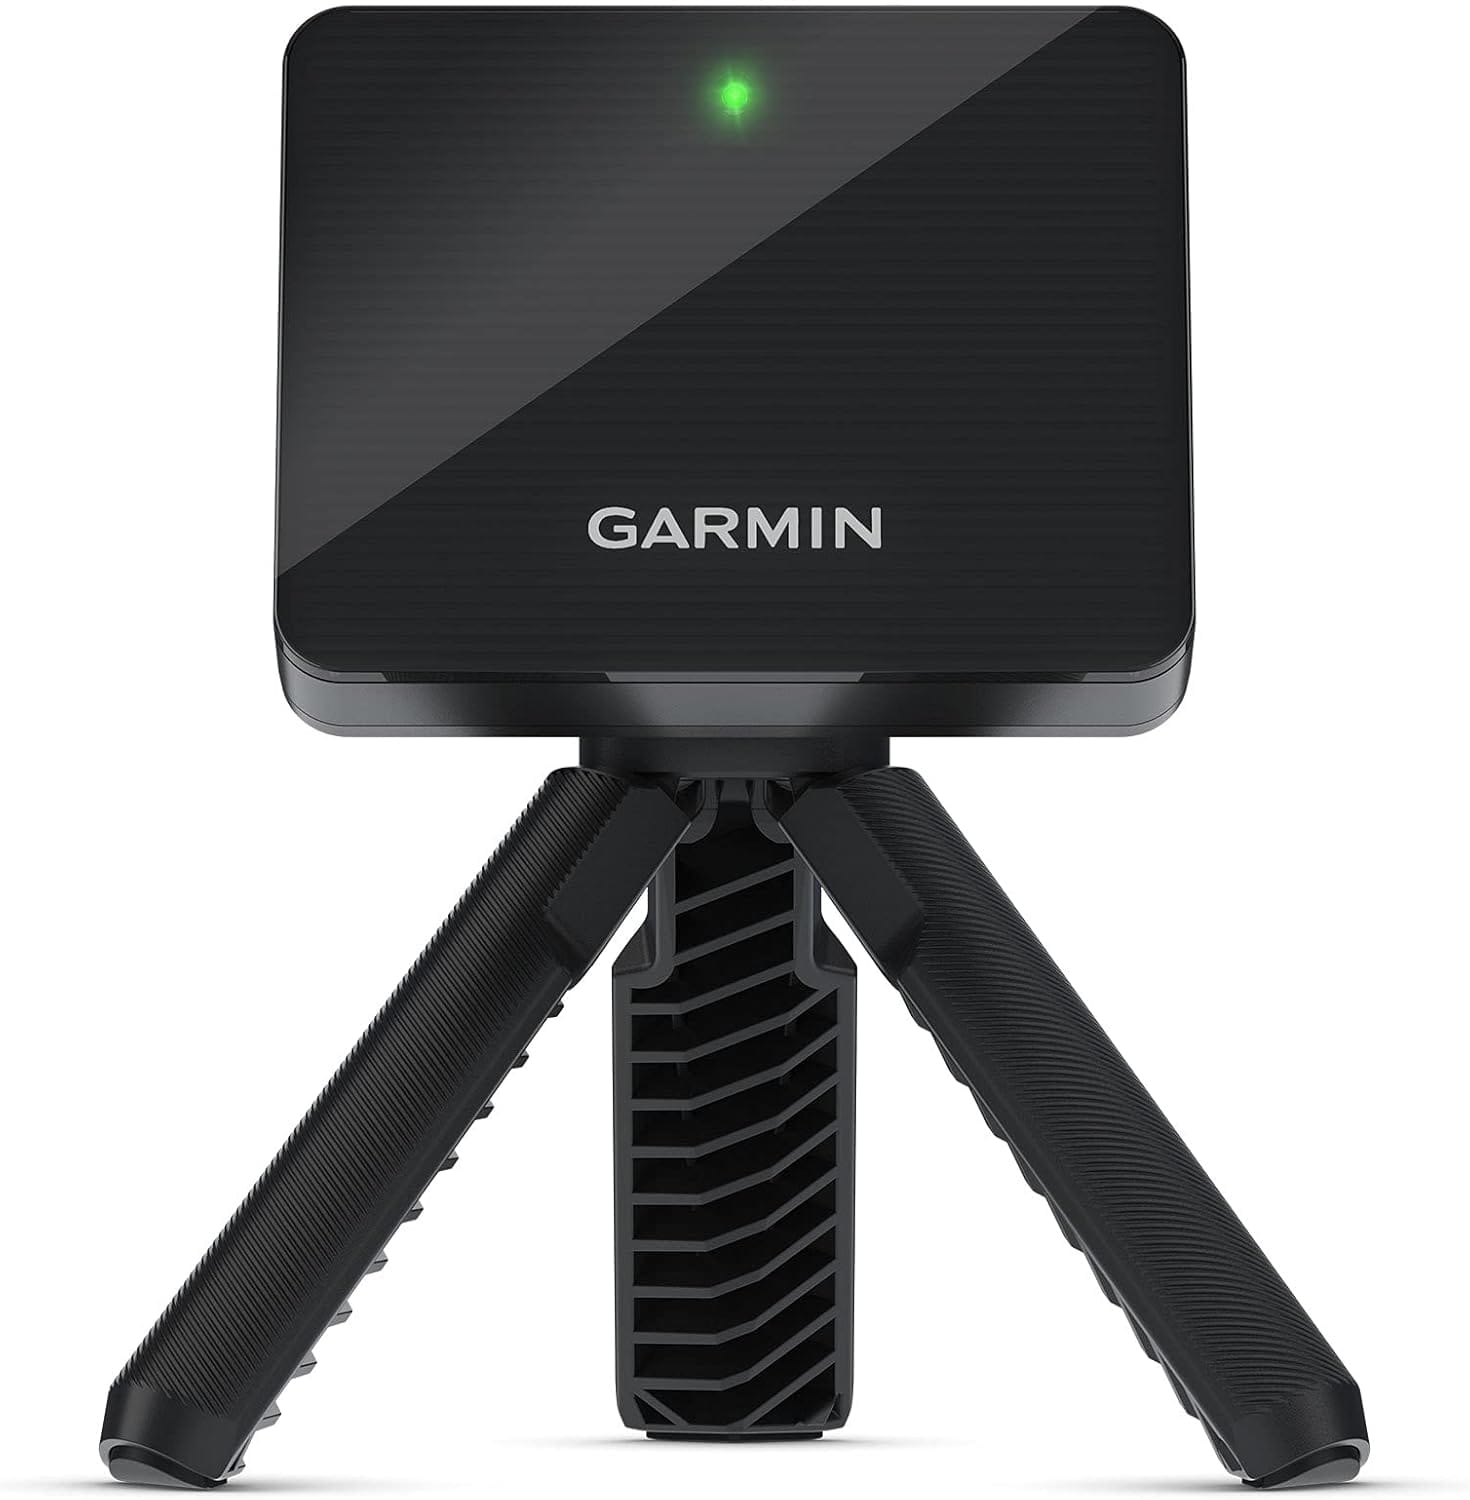
Garmin Approach R10 Launch Monitor
Portable launch monitor with 16 data points. Works indoors and outdoors. App required.
Step 3: Run a smash factor session
Smash factor is ball speed divided by clubhead speed. It tells you how clean your contact is. A 1.50 reading is the theoretical ceiling with a driver (USGA COR limit). The standard target for mid-handicappers sits between 1.43 and 1.47.
Here's why it matters more than any swing video. You can have a textbook-looking swing and a 1.38 smash factor because you're catching the ball low on the face. You can have an ugly swing and a 1.46 smash because you find the centre. The unit doesn't care what your swing looks like. It cares where the ball met the face.
A smash factor session works like this: hit 30 drives, log every number, and look at the spread. If your smash factor jumps between 1.32 and 1.49, you have a contact consistency problem, not a power problem. If it sits at a steady 1.40, the face contact is consistent but you're not finding the centre, and that's a fitting question more than a coaching one. Practical Golf's launch monitor practice guide calls this the cheapest diagnostic in golf, and I agree. Twenty minutes, no swing changes, real answers about where your driver is leaking distance.
Step 4: Use it for driver fit checks
Custom fitting is the second-best use of a unit, after gapping. The bay you'd pay $250 for at a fitter is the bay you already own. You won't replicate a full fitter's database of head and shaft combinations, but you can run cheap experiments before you book the real thing.
The simplest test: drop your driver loft by one degree (most modern adjustable hosels allow this), hit 15 shots, and compare carry, peak height, and spin to your baseline. A 1-degree loft change can shift carry by 5 to 8 yards (4.6 to 7.3m) depending on attack angle. If lofting down adds carry, you were spinning too much. If it kills carry, you needed the launch.
Do the same with face angle. Open the face by 1 degree, hit 15. Closed by 1, hit 15. Watch what happens to your dispersion. If you slice less with a 1-degree closed face, that's a real finding you can take to work on your ball flight before you spend on lessons.
This isn't a replacement for a proper fitting session. It's a way to know what to ask for when you walk in. If you'd rather skip the DIY phase, my notes on finding affordable fitting still apply.
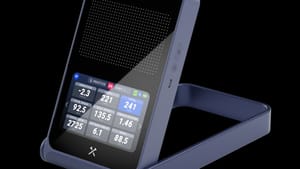
Rapsodo MLM2Pro Launch Monitor
Dual Doppler radar + camera combo. Outdoor-only but excellent accuracy at the price.
Step 5: Gap your wedges
If you're going to use a unit for one thing only, use it for wedge gapping. This is where amateurs leak the most strokes and where the data is the most actionable.
The standard you want is a 10-yard (9.1m) gap between consecutive clubs. From your pitching wedge through your lob wedge, every club should land about 10 yards shorter than the one above it. Most amateurs don't have that. Most have a 14-yard (12.8m) gap between PW and 50-degree, then a 6-yard gap between 56 and 60. Translation: a dead zone they can't reach with full swings, and a duplicate they don't need.
The dead zone sits between 80 and 120 yards (73 to 110m) for most amateurs. Hit 10 full shots with each wedge, record carry, and stack the numbers. If there's a 15-plus yard hole between two clubs, you have three options: change lofts, learn a three-quarter shot to fill it, or carry an extra wedge. The unit tells you which one you're missing.
This is also where the right practice tools matter most. A wedge gapping session with no record of the numbers is just hitting balls. Log everything.
Step 6: Avoid these common mistakes
I've watched enough mid-handicappers buy a unit and then waste it that the failure patterns are predictable. MyGolfSpy's launch monitor myths and limitations write-up covers the technical accuracy ceiling. The behavioural failures are more common, and worse:
- Chasing every metric. If you're trying to optimise spin loft, attack angle, dynamic loft, club path, and face angle in the same session, you'll change six things and learn nothing. Pick one.
- Not recording sessions. A unit that doesn't write to a spreadsheet is a $600 toy. Log every session. The pattern across 20 sessions is more useful than any single number.
- Trying to fix too many things at once. Work on smash factor or work on launch angle. Not both. Give a single goal at least two weeks before you switch.
- Ignoring wedge data. Most golfers spend 80% of their session on driver and ignore the clubs they hit twice as often. Flip the ratio.
- Leaving mid-irons out. A 6-iron carry that drops 12 yards (11m) in winter tells you something a fresh 7-iron number won't. Hit the bracket from PW to 5-iron every session, not just your favourites.
The unit is a microscope. Pointing it at the wrong thing produces clean data about something that doesn't matter. Most of the work is deciding what to look at.
Frequently Asked Questions
How long does it take to see real improvement using a launch monitor?
Six to eight weeks of two sessions per week, with logged numbers, is the minimum window where a 14-handicap golfer should see measurable shifts in carry distance and dispersion. If you're hitting balls without recording the numbers, the answer is closer to never. The unit doesn't make you better. The log does.
Do I need an indoor or outdoor launch monitor for practice at home?
Depends on the space. Photometric units (SkyTrak, Bushnell Launch Pro) need a hitting screen 8 to 10 feet (2.4 to 3.0m) from the ball and work well indoors. Doppler radar units (Garmin R10, Rapsodo MLM2Pro) need 8 to 10 feet (2.4 to 3.0m) of ball flight room behind impact, which most golfers can only get outdoors. If you have a garage with a 10-foot (3.0m) ceiling and a screen, go photometric. If you have a back garden, go radar.
What ball speed should a 14-handicap golfer aim for with driver?
Trackman's Sep 2024 data has the 14.5-handicap average at 133mph ball speed and 208 yards (190m) of carry. If you're 5mph below that, ball speed training (overspeed sticks, gym work) gives faster returns than swing changes. If you're 5mph above and still scoring at 14, the issue isn't speed, it's wedges and putting. Different problem, different practice plan.
Is a launch monitor worth it for a mid-handicapper, or only for low handicaps?
Mid-handicappers benefit more, not less. A 5-handicap already knows their carry numbers. A 16-handicap doesn't, and that gap costs more strokes than swing technique does. If you're working on breaking 90 for the first time, a $600 unit that fixes your wedge gaps will move the needle faster than another $400 driver.
Can I use a launch monitor without a hitting net or simulator setup?
Outdoors, yes. A radar unit on a flat lie at the range works fine if you can see ball flight. Indoors without a screen, no. The unit needs either ball flight data (radar, outdoors) or full impact data (photometric, indoors with screen). A doppler radar pointed at a net will give you garbage spin numbers.
Buying the device is the cheap part. Writing the numbers down, week after week, is the part most people quit on. If you do nothing else from this list, log every session in a spreadsheet for 60 days. The patterns will tell you what to fix next, and you'll spend less on lessons because you'll already know what's broken.
Some links in this article are affiliate links. If you buy through them, I earn a small commission at no extra cost to you. This never influences what I recommend. I link to gear I'd buy myself.